Introduction
There’s something undeniably comforting about a homemade brownie—the warm cocoa aroma, the soft center, the way the edges get ever-so-slightly chewy. Now imagine taking that beloved brownie and dipping it in silky, glossy chocolate. Suddenly, you’ve turned a classic dessert into a bakery-style treat that feels special with every bite.
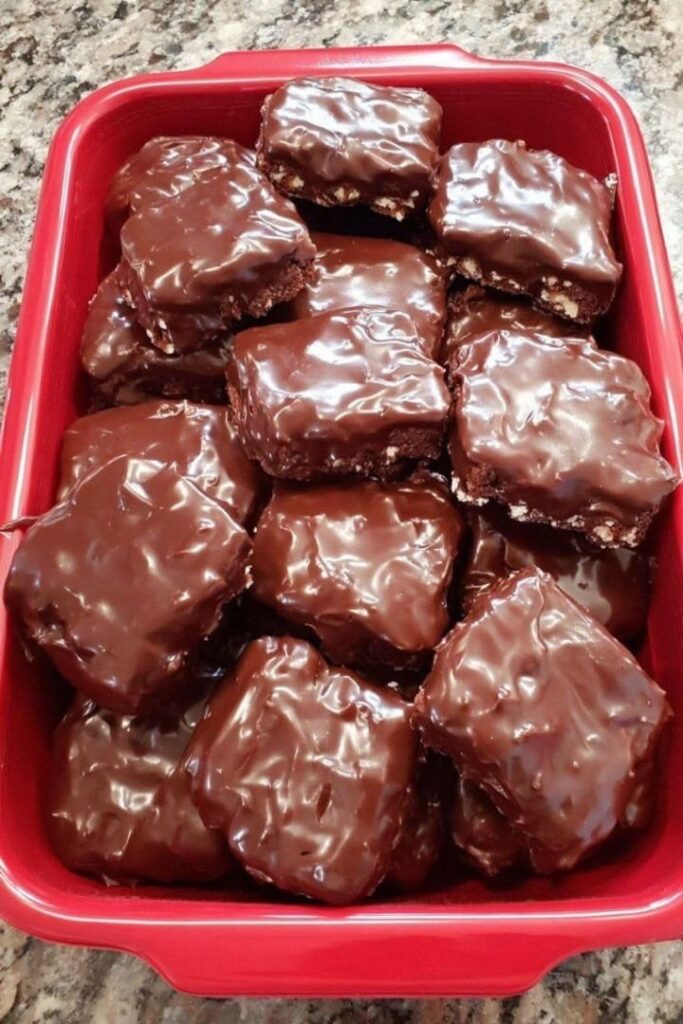
Chocolate-Covered Brownie Bars take everything you love about fudgy brownies and elevate it with a crackly chocolate shell that snaps gently before melting into the rich center. It’s the kind of dessert you make for celebrations, sleepovers, holidays, or simply because you want a dessert that tastes like pure happiness.
Whether you’re baking with kids, prepping a sweet treat for a party, or looking for a simple but impressive dessert, these bars deliver. They’re easy to make, freezer-friendly, and perfect for chocolate lovers. If you enjoy family-friendly comfort food recipes or “easy dessert recipes” that look fancy without the stress, you’ll love these.
Ingredients
For the Fudgy Brownies
Unsalted butter
Granulated sugar
Eggs
Vanilla extract
All-purpose flour
Cocoa powder
Salt
Optional: chocolate chips or chopped nuts
For the Chocolate Coating
Semi-sweet or dark chocolate
Coconut oil (optional, for smoother dipping)
Tools Needed
Mixing bowl
Whisk and spatula
8×8 or 9×9-inch baking pan
Parchment paper
Double boiler or microwave-safe bowl
Cutting knife
Dipping fork or regular fork
How to Make Chocolate-Covered Brownie Bars
Step 1: Make the Brownie Base
Melt the butter and mix it with sugar. Add eggs and vanilla until the mixture looks glossy and smooth. Fold in the dry ingredients just until combined—overmixing can make the brownies cakey instead of fudgy.
Step 2: Bake
Spread the batter into a lined pan and bake until the center is set but still soft. When your kitchen starts smelling like rich chocolate heaven, you’re close to done.
Step 3: Cool Completely
Let the brownies cool fully. Cold brownies slice more cleanly and hold their shape when dipped.
Step 4: Slice
Cut brownies into bars, squares, or even bite-sized pieces.
Step 5: Dip in Chocolate
Melt the chocolate (add coconut oil if you prefer a smoother shell). Dip each piece and let the extra chocolate drip off before transferring to parchment.
Step 6: Chill & Enjoy
Refrigerate 10–15 minutes until the chocolate coating hardens. Then try—just try—not to eat three at once.
Why You’ll Love This Recipe
A bakery-style dessert made with simple pantry ingredients
Perfect for parties, gifting, or holiday dessert trays
A great make-ahead recipe
Kid-friendly and fun for families to make together
Rich, fudgy texture with a satisfying chocolate shell
Elegant enough for celebrations but easy enough for everyday baking
Tips for Success
Use room-temperature eggs for a smoother batter.
Line the pan with parchment for easy lifting and perfect slices.
Chill the brownies before dipping—this keeps crumbs out of the chocolate.
Use high-quality chocolate for the coating for the best flavor.
If the chocolate thickens, re-warm it in short bursts.
Variations
Peanut Butter Swirl: Add ribbons of peanut butter before baking.
Salted Caramel: Drizzle caramel into the batter and sprinkle with flaky salt.
Mocha Brownies: Add a teaspoon of instant espresso powder.
Mint Chocolate: Use mint extract and dip in dark chocolate.
Holiday Style: Top with sprinkles before the chocolate sets.
FAQs
Can I use boxed brownie mix?
Yes—use a fudgy-style boxed mix for convenience.
Can these be frozen?
Absolutely. Freeze after dipping for a ready-to-go treat.
What chocolate melts best?
Semi-sweet or dark melts smoothly and complements the brownies.
Can I make them dairy-free?
Use dairy-free butter and chocolate.
Why chill before cutting?
It helps maintain clean edges and prevents crumbling.
Can I skip the chocolate coating?
Yes—they’re delicious plain too.
How long do they last?
Up to 4–5 days in the fridge.
Can I use white chocolate?
Yes, but add a little coconut oil for smoother melting.
Do they have to be refrigerated?
Only after dipping, to help the shell set.
What size pan works best?
An 8×8 for thicker bars, 9×9 for thinner ones.
How to Serve
As a dessert platter centerpiece
Individually wrapped for gifting
With ice cream for an extra-special treat
Cut into minis for parties or bake sales
Make Ahead & Storage
Make Ahead: Bake the brownies a day in advance and dip later.
Storage: Keep in an airtight container in the fridge.
Reheat: No reheating needed—serve chilled or at room temp.
Conclusion
Chocolate-Covered Brownie Bars are a treat that feels both nostalgic and elevated. They combine the coziness of homemade brownies with the richness of a chocolate shell, creating a dessert that looks impressive without any complicated steps. Perfect for families, parties, or anytime chocolate cravings strike, this recipe is one you’ll come back to again and again.