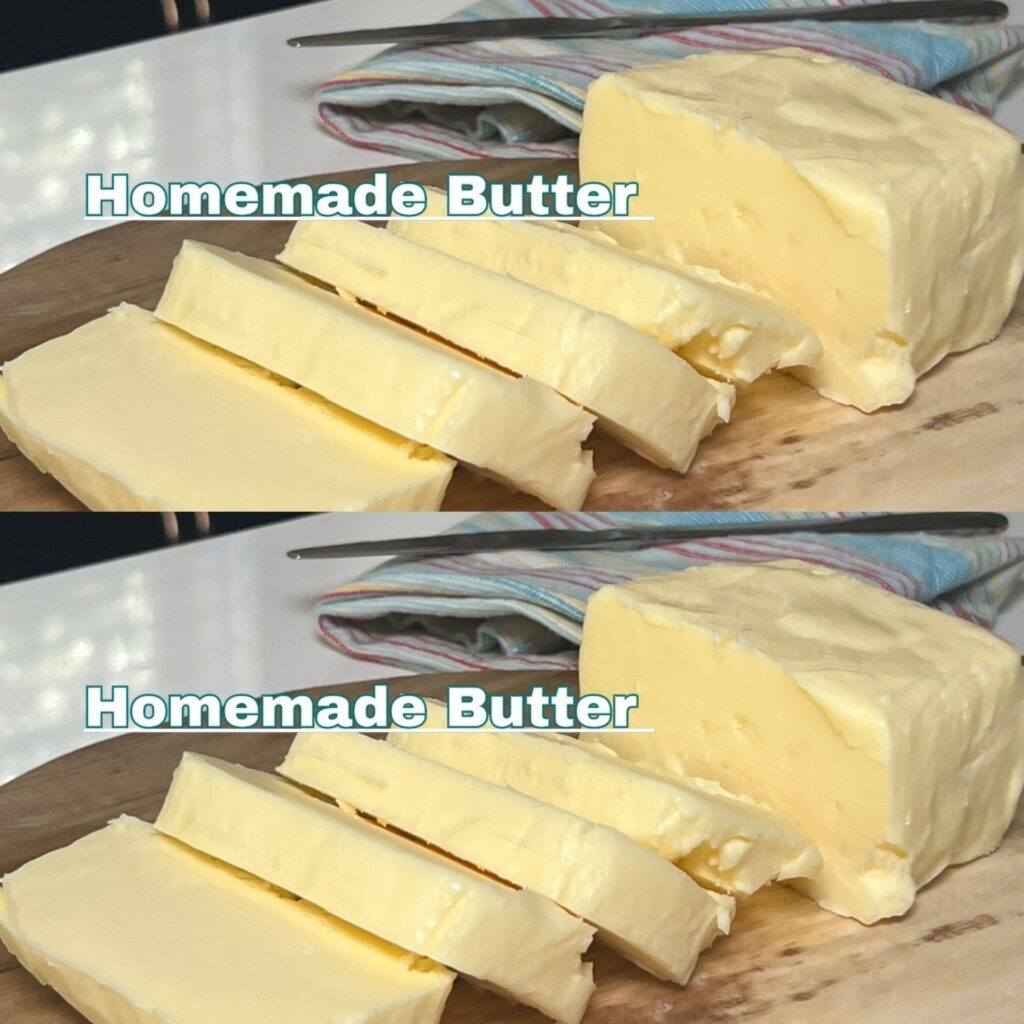
Stop Buying Butter ~ Make Homemade Butter in 5 Minutes!
Homemade butter might sound like an old-fashioned concept, but it’s an easy and satisfying kitchen project that takes just five minutes. Store-bought butter is convenient, but making your own allows you to control the ingredients, eliminate preservatives, and enjoy the freshest butter possible. Plus, the taste and texture of homemade butter are unmatched. Follow this step-by-step guide, and you’ll never look at butter the same way again.
Ingredients and Tools You’ll Need
Ingredients:
Heavy cream or whipping cream (minimum 36% fat content)
Optional: Salt, herbs, or spices for flavoring
Tools:
A stand mixer, handheld electric mixer, or food processor
A clean bowl
A fine mesh strainer or cheesecloth
Cold water
A spatula
An airtight container for storage
Step-by-Step Guide to Making Homemade Butter
Start with Cold Cream Begin with fresh, high-quality heavy cream. If you prefer salted butter, you can add a pinch of salt to the cream at this stage. Use cream that is cold from the refrigerator, as it will help the butter form more quickly.
Whip the Cream Pour the cream into your stand mixer bowl or food processor. Start at a medium speed to avoid splattering, then gradually increase to high speed. You can also use a handheld electric mixer if you’re making a smaller batch. As you whip the cream, it will first thicken into whipped cream, then continue to separate into butterfat and buttermilk.
Watch for Separation After about 3-4 minutes, you’ll notice the cream transforming. The butterfat will clump together into a yellow mass, and the buttermilk will separate as a thin, milky liquid. At this stage, reduce the speed to avoid splashing.
Strain the Buttermilk Once the butterfat has fully formed, strain the mixture using a fine mesh strainer or cheesecloth. Save the buttermilk—it’s a versatile ingredient that you can use in baking, pancakes, or smoothies.
Wash the Butter Transfer the butter to a clean bowl. Pour cold water over it and knead the butter with a spatula or your hands to remove any remaining buttermilk. Repeat this process 2-3 times with fresh cold water until the water runs clear. This step is essential for preventing spoilage.
Season and Shape the Butter At this point, you can add salt for flavor or mix in herbs, garlic, or spices to create compound butter. Knead the butter until the additions are evenly distributed. Shape it into a block or ball, or pack it into an airtight container.
Store Your Butter Homemade butter can be stored in the refrigerator for up to a week or frozen for longer storage. Use it on bread, in cooking, or as a finishing touch for vegetables and meats.
Tips for Perfect Homemade Butter
Use high-fat cream for the best yield and flavor.
If you’re short on time, opt for a food processor, which works faster than a mixer.
Experiment with flavors by adding sweet or savory ingredients like honey, cinnamon, or chili flakes.
Ensure all equipment is clean and dry to extend the shelf life of your butter.
Why Make Homemade Butter?
Homemade butter isn’t just a fun DIY project; it’s a way to elevate your cooking. The flavor and freshness are unparalleled, and the satisfaction of creating something from scratch is rewarding. Plus, you’ll gain a deeper appreciation for the simple, versatile ingredient that butter truly is.
So, stop buying butter and give this five-minute method a try. Once you taste the difference, there’s no turning back!