Introduction
If you grew up near Chicago, you might remember walking into a local bakery and seeing big trays of apple slices cooling in the display case. They weren’t fancy or overly sweet, but they carried that unmistakable aroma of baked apples, buttery crust, and a drizzle of simple glaze. Just one bite felt like home—warm, cozy, and made to be shared.
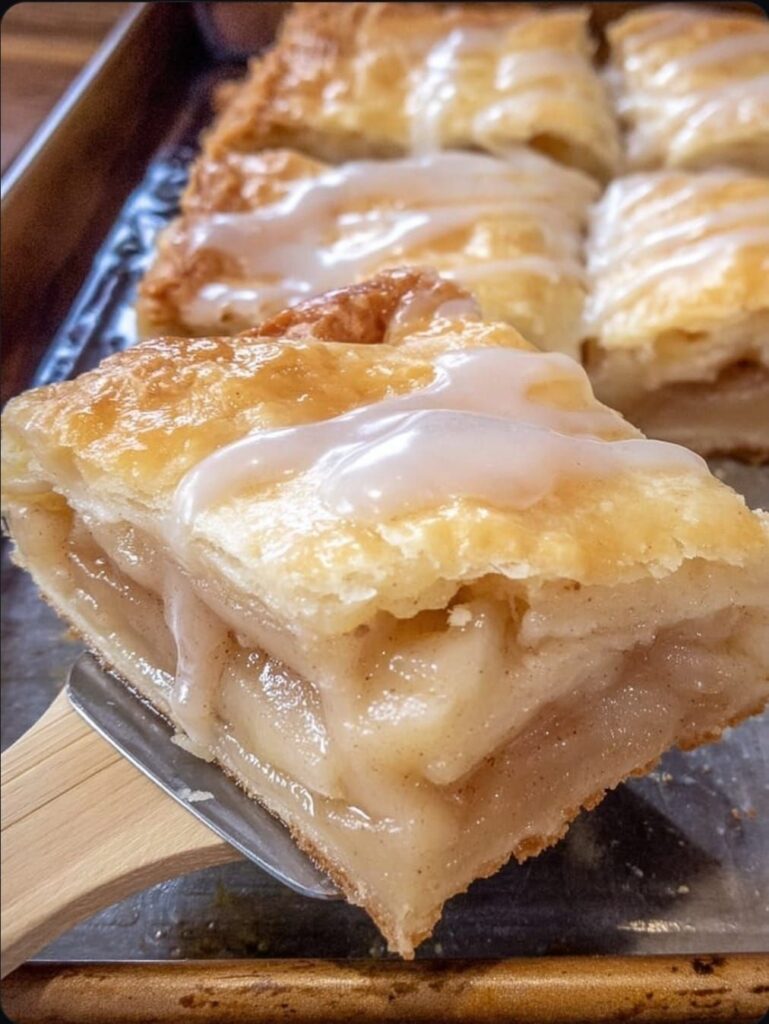
This recipe brings that bakery magic right into your own kitchen. With a tender, flaky crust and a sweet, cinnamon-kissed apple filling, these slices are just the right balance of nostalgic and timeless. Unlike traditional apple pie, Chicago-style apple slices are baked in a rectangular pan, making them easy to cut into squares for serving at family gatherings, potlucks, or holiday tables.
It’s the kind of dessert that instantly transports you back to simpler times. Whether you serve it warm with a scoop of vanilla ice cream or pack it up for a school bake sale, this recipe is guaranteed to win hearts (and appetites) wherever it goes.
Ingredients
For the Crust
3 cups all-purpose flour
1 tablespoon granulated sugar
1 teaspoon salt
1 cup cold unsalted butter, cubed
2 large eggs
5–6 tablespoons cold water
For the Apple Filling
8 cups apples (about 6–8), peeled, cored, thinly sliced
¾ cup granulated sugar
¼ cup packed light brown sugar
2 tablespoons all-purpose flour
1 teaspoon ground cinnamon
¼ teaspoon ground nutmeg
1 tablespoon lemon juice
1 tablespoon melted unsalted butter
For the Glaze
1 cup powdered sugar
2–3 tablespoons milk
½ teaspoon vanilla extract
How to Make Chicago-Style Apple Slices
Step 1 – Make the Dough
Whisk flour, sugar, and salt in a large bowl. Cut in cold butter until crumbly. In a small bowl, beat eggs with 5 tablespoons cold water, then mix into flour until dough comes together. Add extra water if needed. Divide into two balls, wrap in plastic, and chill for 30 minutes.
Step 2 – Prepare the Pan
Preheat oven to 375°F (190°C). Grease a 9×13-inch baking pan.
Step 3 – Mix the Filling
In a large bowl, toss apples with sugars, flour, cinnamon, nutmeg, and lemon juice until evenly coated.
Step 4 – Assemble
Roll out one dough portion into a rectangle and press into the pan. Add apple filling and drizzle with melted butter. Roll out second dough portion and place on top. Seal edges and cut slits in the top crust.
Step 5 – Bake
Bake for 40–45 minutes until crust is golden and apples are tender. If edges brown too fast, cover with foil.
Step 6 – Glaze & Serve
Whisk powdered sugar, milk, and vanilla until smooth. Drizzle over warm apple slices and let set for 10 minutes before cutting into squares.
Why You’ll Love This Recipe
Crowd-pleasing dessert – Perfect for holidays, bake sales, or Sunday family dinners.
Easier than pie – Bakes in a 9×13 pan, so you don’t need to fuss with pie plates.
Make-ahead friendly – Tastes just as good the next day (if it lasts that long!).
Nostalgic comfort food – Brings back the taste of old-fashioned bakery favorites.
Tips for Success
Mix apple varieties – Try combining Granny Smith for tartness and Honeycrisp for sweetness.
Chill your dough – Keeps the butter cold and results in a flaky crust.
Avoid soggy bottoms – Blind bake the bottom crust for 10 minutes if you want extra crispness.
Glaze timing – Drizzle glaze while warm for it to melt slightly, or wait until cooled for a thicker finish.
Variations
Apple-Pear Mix – Swap in half pears for a fall twist.
Cinnamon Glaze – Add ½ teaspoon cinnamon to the glaze for extra spice.
Nutty Crunch – Sprinkle chopped walnuts or pecans over the filling before sealing with the top crust.
Mini Version – Bake in muffin tins for individual portions.