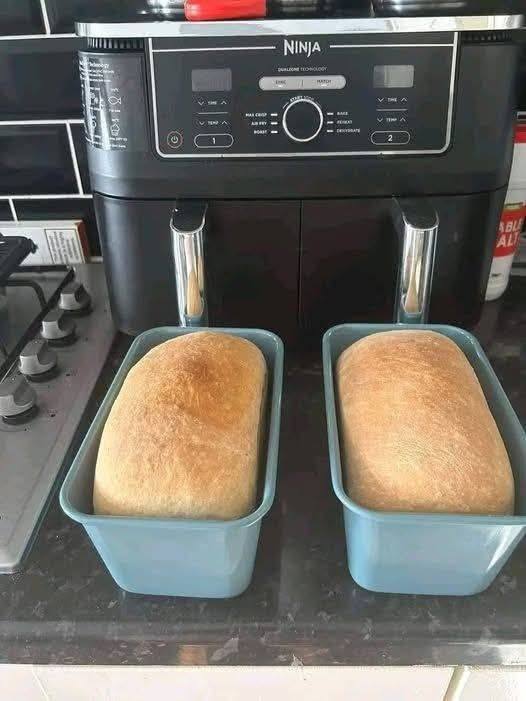
Making homemade bread has never been easier, thanks to the versatile air fryer. This appliance not only saves time but also delivers a beautifully golden crust and a soft, fluffy interior. Whether you’re a seasoned baker or a novice in the kitchen, this step-by-step guide will help you create delicious homemade bread right in your air fryer.
Why Make Bread in the Air Fryer?
The air fryer is perfect for baking small batches of bread due to its efficient heating and compact design. It reduces cooking time compared to a conventional oven while ensuring even baking. Plus, it’s a great way to enjoy fresh, warm bread without heating up your entire kitchen.
Ingredients
For a medium-sized loaf or 4-6 rolls, you will need:
2 cups all-purpose flour (or bread flour)
1 teaspoon salt
1 tablespoon sugar
2 teaspoons instant yeast
3/4 cup warm water (around 110°F or 45°C)
1 tablespoon olive oil (optional, for a softer texture)
Equipment
Air fryer
Mixing bowl
Small loaf pan or air fryer-safe baking dish
Kitchen towel
Step-by-Step Instructions:
Step-by-Step Instructions:
Step 1: Activate the Yeast
1. In a small bowl, combine the warm water and sugar. Stir until the sugar dissolves.
2. Sprinkle the instant yeast over the water and let it sit for 5-10 minutes until frothy. This step ensures the yeast is active.
Step 2: Prepare the Dough
1. In a large mixing bowl, combine the flour and salt.
2. Add the frothy yeast mixture and olive oil (if using) to the dry ingredients. Mix until a dough begins to form.
3. Knead the dough on a lightly floured surface for 8-10 minutes until it becomes smooth and elastic.
Step 3: Let the Dough Rise
1. Place the dough in a lightly oiled bowl and cover it with a kitchen towel.
2. Let it rise in a warm place for 1-2 hours or until it doubles in size.
Step 4: Shape the Dough
1. Once the dough has risen, punch it down to release air.
2. Shape it into a loaf or divide it into smaller portions for rolls. Place the shaped dough into a greased loaf pan or air fryer-safe dish.
Step 5: Second Rise
1. Cover the shaped dough and let it rise again for 30-40 minutes until it puffs up.
Step 6: Preheat the Air Fryer
1. Preheat your air fryer to 320°F (160°C) for 5 minutes.
Step 7: Bake the Bread
1. Place the pan or dish with the dough into the air fryer basket.
2. Bake at 320°F (160°C) for 20-25 minutes for a loaf, or 12-15 minutes for rolls.
3. Check the bread halfway through to ensure even browning. If it browns too quickly, cover it loosely with foil.
Step 8: Cool and Serve
1. Once the bread is done, remove it from the air fryer and allow it to cool on a wire rack for 10-15 minutes before slicing.
Tips for Perfect Air Fryer Bread
1. Monitor the Temperature: Air fryers vary in performance. If your bread browns too quickly, reduce the temperature slightly.
2. Grease the Pan: Always grease your baking dish to prevent sticking.
3. Check for Doneness: Tap the bottom of the bread; if it sounds hollow, it’s done.
4. Experiment with Add-Ins: Add herbs, cheese, or seeds for extra flavor.
Benefits of Air Fryer Bread
Time-Saving: Faster baking time compared to traditional ovens.
Compact and Efficient: Ideal for small batches and minimal kitchen space.
Energy-Saving: Uses less energy than preheating and operating a full-sized oven.
Homemade bread in the air fryer is a delightful combination of convenience and taste. With a crispy crust and tender interior, it’s perfect for sandwiches, toast, or as a side to your favorite meals. Give it a try and experience the joy of freshly baked bread in a fraction of the time!